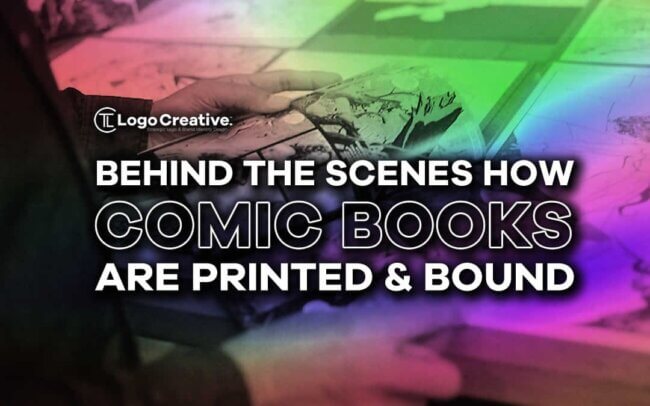
In this article we give share Behind the Scenes: How Comic Books Are Printed and Bound.
If you’re a big comic enthusiast and you’re considering self-publishing your very own comic book, it’s important to learn all there is to know about the comic book printing process. From the ideation stage to holding the printed end result in your hands, we explore every step that goes into creating a comic book.
Table of Contents
Step 1: Pre-Printing
Before you can even think about sending your comic book to the printers, you’ve got to lay a lot of groundwork. This means planning your comic book from start to finish, including the genre, characters and storyline. You’ll need a crystal-clear vision of these elements to write a comic book readers will enjoy.
Once you’ve nailed down these elements, you can get straight into writing the script and breaking down the narrative into panels and pages, which acts as a useful blueprint for your comic book illustrator. If you’re illustrating your own comic book, this stage is the perfect time to sketch out all of your ideas to see what works and what needs tweaking to make sure your story flows in a logical and highly engaging way.
Step 2: Design
Onto step two, the design phase. Comic books come in various sizes and styles, giving you plenty of options to bring your comic book to life on the page. Before your comic book can be printed, you need to let the printer know your specifications, such as:
Quantity and Speed
First, you’ll need to let your chosen comic book printing company know how many copies they should print. Top tip: The more copies you print, the cheaper each one will be! You’ll also need to specify which production speed you require. Most printers offer a standard and express service, allowing you to get hold of your finished comic books quickly if you’re on a tight deadline.
Size
Next, you must let the printers know how big your comic books should be. There are various options to choose from, including the standard 6.625” x 10.25” comic book size. But don’t feel like you have to stick to this—choose whichever size best suits your requirements.
Paper Type and Weight
Now, it’s time to choose your paper type and weight. Comics are usually printed on uncoated paper but don’t feel like you have to stick to this. Comic book printing services usually offer various paper options, including uncoated, recycled, silk and gloss paper. Regarding paper weight, the best option for comic books usually sits somewhere between 140 GSM and 190 GSM, but it ultimately depends on the paper type you’ve selected.
Binding
Larger comic books are usually put together with perfect binding, which provides a secure, professional finish, whereas smaller comic books are usually created with staple binding due to durability and cost-effectiveness.
Colour
Finally, you must choose whether your comic book should be printed in colour or grayscale.
Step 3: Writing and Illustrating
Once you’ve made all of your design decisions and are happy with the illustrations (created either by you on a digital art tool or by an experienced comic book illustrator), you should check that both the writing and illustrations are optimised for printing. This includes checking gutters, margins, the number of pages and the text size. For example, if you’ve opted for perfect binding, you need to make sure the page total is a multiple of four. This will ensure everything lines up nicely when it’s folded and stapled.
Step 4: Colouring
One of the big decisions you’ll have to make is whether you want your comic books printed in colour or in black and white. Both options have their merits. For example, popular comics like The Walking Dead and Sin City were mostly printed in black and white, whereas Marvel and DC comics tend to be printed in colour.
Did you know that comics used to be printed using spots of one colour at a time? This was replaced by the Ben-Day dots method, which relies upon small coloured dots (cyan, magenta, yellow and black) spaced and combined to create colours and shading. However, modern comics are usually coloured digitally, using a code related to the four base colours.
The modern-day process involves feeding large pieces of paper between rotating plates that print on both sides simultaneously, resulting in up to eight comic book pages on each side of the large sheet. Each sheet colour is applied individually in four-colour printing, whereas other printing presses use four rotating plates to apply each colour.
Final Thoughts: Behind-the-Scenes of Comic Book Printing
There you have it. A quick look at how comic books go from an idea into printed works. Whether you’re a first-time comic book writer with work ready to publish or you’re only just formulating a comic story idea, it’s important to understand the comic printing process. Happy printing!
Join The Logo Community
We hope you enjoyed Behind the Scenes: How Comic Books Are Printed and Bound. Also, check out our other articles related to book publishing. If you would like more personal tips, advice, insights, and access to our community threads and other goodies, join me in our community. You can comment directly on posts and have a discussion.
*TIP – We use and recommend DesignCuts for all your fonts, mockups and design bundles.
