In this digital world, pen and ink illustrations remain relevant because they are cost-effective, convenient, and portable. Artists can use pen and ink to draw a piece of art and then quickly transfer it into the digital environment using software like Photoshop, Piranesi, Poser, and others. In this article, we discuss Everything You Need to Know About Pen and Ink Illustration.
Many artists still prefer using pen & ink to draw on a piece of paper. They feel that they have more control over the work they do and get better results. Given the fact that modern technology can transfer these works of art into the digital world, there is simply no reason why artists shouldn’t work this way.
Plus, even if they are affordable illustrations, you can use them on branding and other printed materials.
Table of Contents
Types of Pens and Ink
Every pen gives different results. Depending on what kind of lines you want to achieve, you will have to choose an adequate pen. Control, fluidity, thinness, and thickness of the line are all determined by the pen you’re using.
Some of the most popular pen brands for ink drawings are Spectrum Noir Artliner Pens, Sakura Pigma Micron Pens, and Prismacolor Premier Illustration Pens.
Here are the three most common types:
1. Markers and Fibre-Tipped Pens
Modern markers are usually used in graphic studios but can be used for fine art as well because their colors dry quickly, and they have excellent consistency. To create overlay colors, the best option is solvent-based markers. It’s also a good idea to use pads to avoid color bleeding.
2. Nib Pens
Nib or dip pens have metal holders that are inserted with metal nibs. They don’t have ink on their own but have to be dipped in it before used. Even though they are old-fashioned, a lot of people use them today to make bold lines and strokes.
3. Fountain Pens
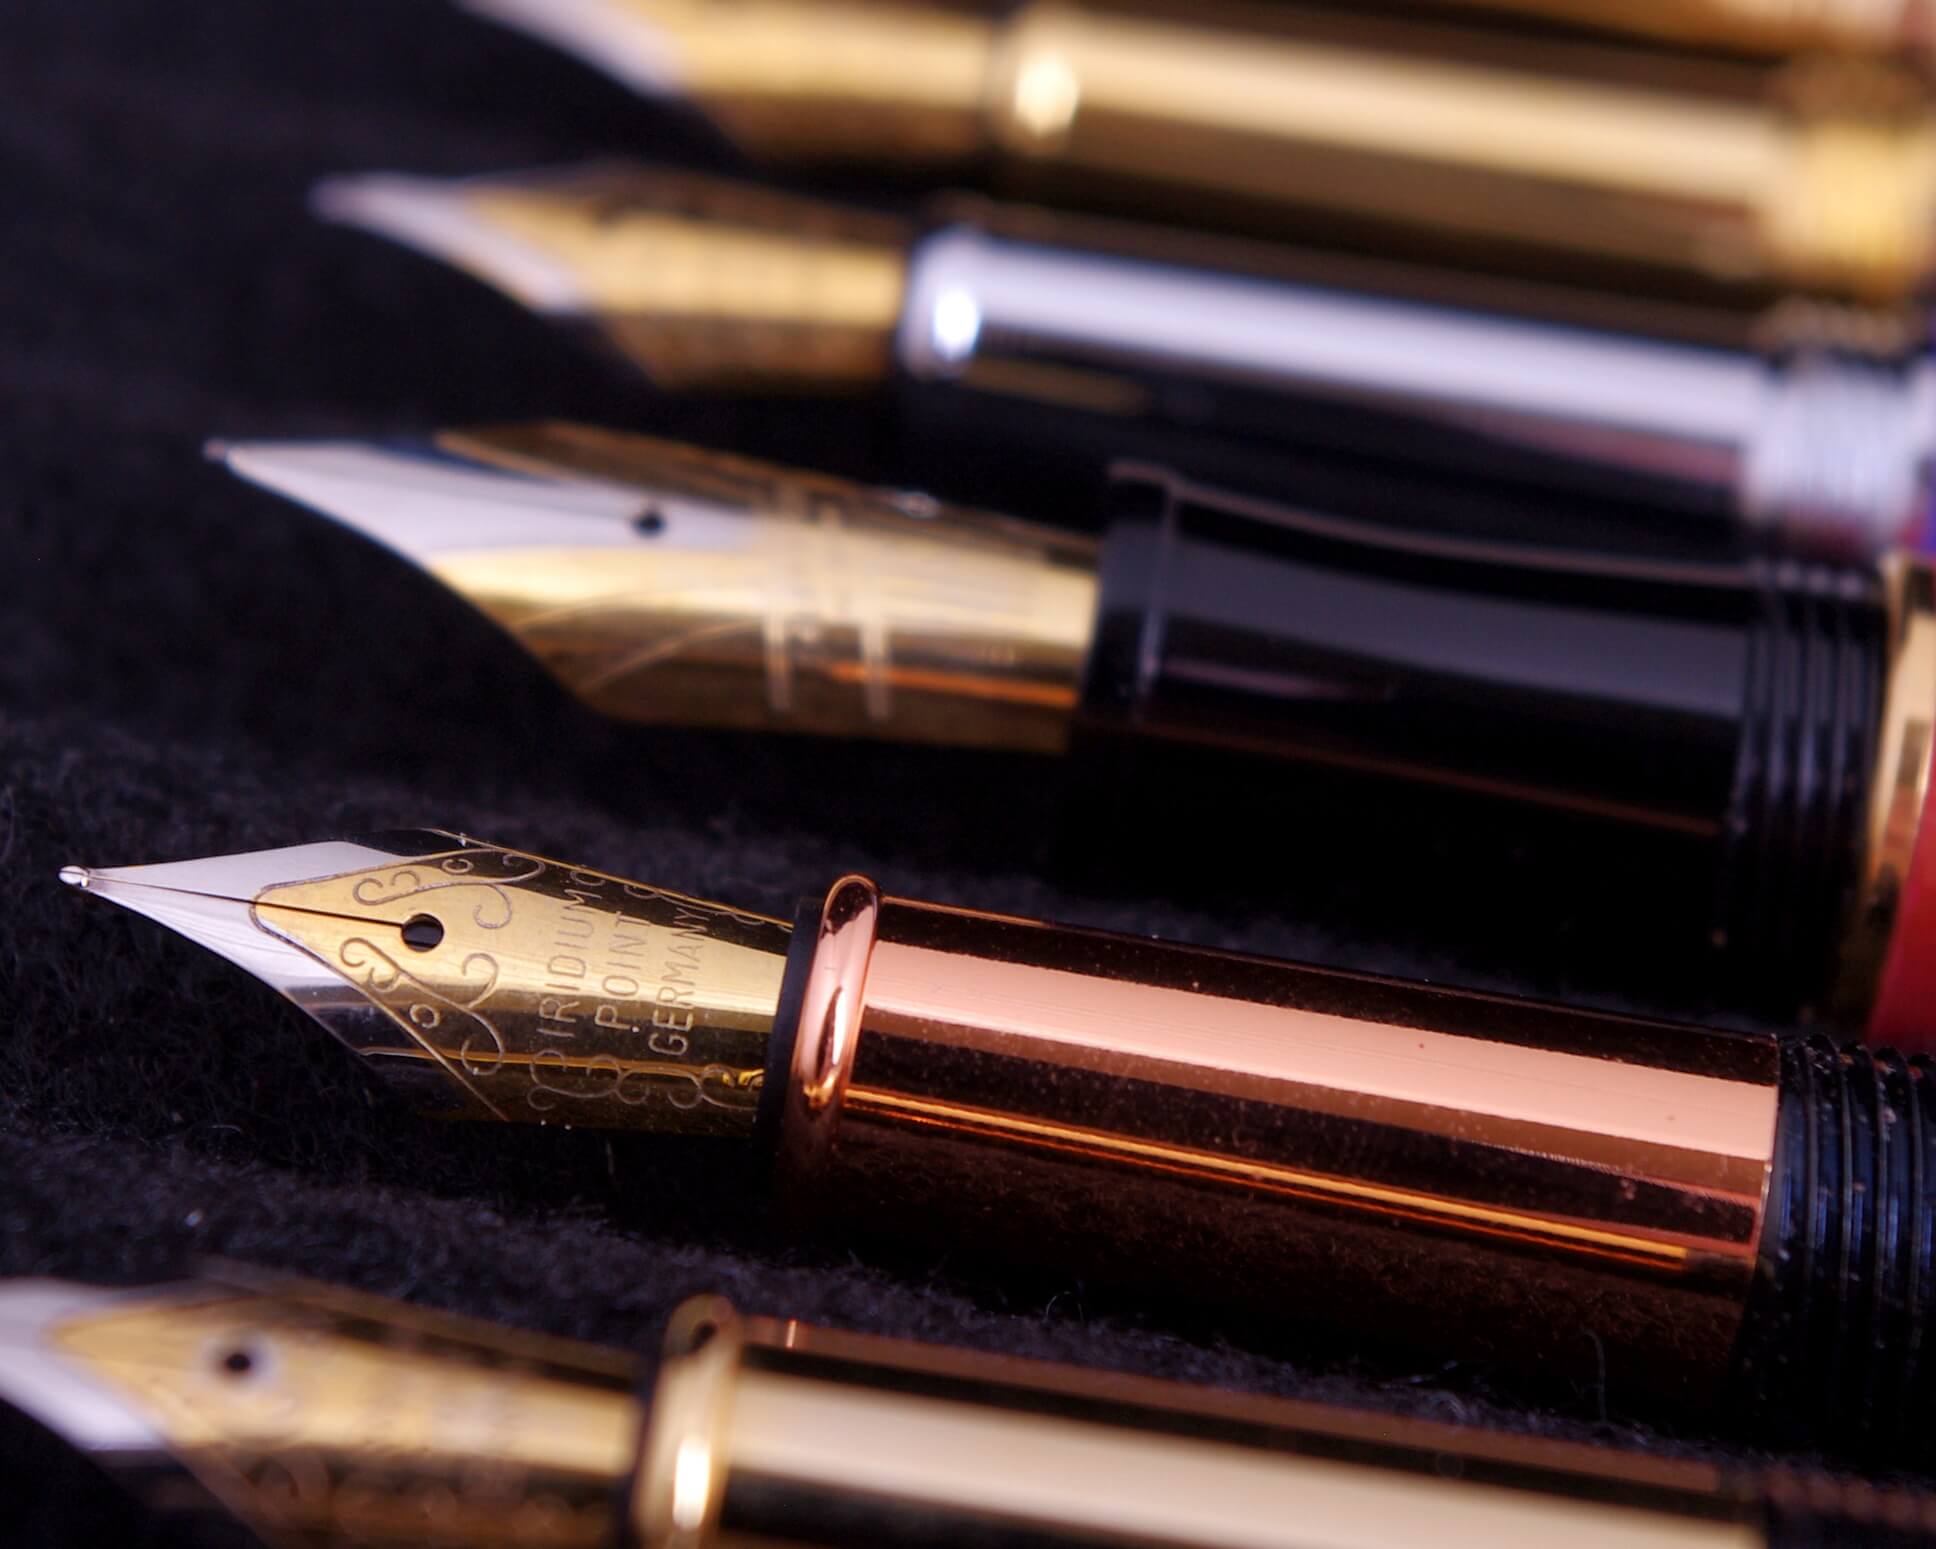
These pens have a small cartridge where they hold ink, and they don’t require any dipping. Still, they have less flexibility than nib pens, but they offer more consistency, and that’s why they are used for illustration and design. They can be standard reservoir pens and technical fountain pens.

4. Types of Ink
Black & white ink are the only permanent types. Most illustrators use Black Indian Ink for drawing monochrome lines as it’s waterproof and permanent. There are also waterproof inks in different colors, and there are around 20 different options. When using tins or wash, it’s essential to do it on waterproof ink. On the other hand, non-waterproof ink is suitable for line drawing without washes.
Pen and Ink Illustration Basics
Illustrations can be printed representations, paintings, or drawings that are used to decorate, visually represent, highlight, or explain something. In the past, illustrations dominated newspapers, magazines, books, and so on. However, illustrators have always used their skills in other areas like comics, cards, animation art, advertisement materials, posters, etc.
At the moment, there are five dominant illustration industry types:
- Commercial: advertising products, posters, and sales illustrations.
- Books & games.
- Informational: science textbooks.
- Literary: educational books for children.
- Media: newspapers, magazines.
Illustration Types Based on Their Method
Pen and Ink
Illustrators that want to have good contrast, details, and precision should use ink. In a lot of situations, illustrations need to have a single color along with different tints. This approach has a lot of line varieties, dots, and thickness to get the right effect. The pen and ink illustration method is also good for diagram representations and technical drawings.

Charcoal
This type of illustrations doesn’t have the line quality nor precision like pencil illustrations, but they stand out because of their uniqueness. Charcoal is often used for sketches, portraits, and illustration stories. This is an excellent method if you require rough lines and blending effects.
Pencil
Pencil illustrations are prevalent and used by illustrators and artists alike. Pencils are a great tool because they have a variety when it comes to creating effects like lines, shades, stories, and small hints that can explain a concept with ease. Pencils don’t offer any limitations in terms of style and have an endless variety of color options.
Acrylic
This is a preferred method for beginners as it is relatively easy to learn. It comes with several effects options and, after the surface has dried, the colors are water-resistant. In most cases, this method is used on cloth and canvas, and this is its major advantage.
Lithography
At first, lithography illustration was used for drawing on stone plates using wax, fat, or oil. However, today this method is mostly used for printing books with a more sophisticated technique, also referred to as offset lithography. It’s often used when book illustrations require lots of different colors.
Watercolors
The main goal of using this method of illustration is to create different levels of transparency with the same pigmented color. It’s also a good way of adding shades and other effects with high levels of detail and depth. Watercolors can be merged quickly and visually enhanced to make them stand out. They are mostly used for children’s books, fashion, and paintings.
Pen and Ink Tips – Techniques for Effective Results
Hatching Technique
This technique adds more linear value. Most of the lines are directed in the same way to provide more definition. With this technique, the lines never overlap. The lines are drawn to be parallel or as a contour to define objects in a better way. To achieve a darker effect, the lines need to be closer, and in case you need a lighter representation, draw them further from each other.
Cross-Hatching Technique
Cross-Hatching is the same as hatching, but with this technique, the lines can go on top of each other. The angle of the second group of lines overlapping the first one is entirely arbitrary just as long as the line in the group is entirely consistent with each other. Hatching and Cross-Hatching can be combined naturally just as long as the lines are flawlessly parallel.
Scribbling Technique
This technique is precisely what it means – scribbling. Artists scribbled away and realized that this method is useful in professional settings, as well. This is an excellent technique for building texture, and you can layer your lines as long as you want to achieve depth and mass.
Crow Quill Technique
Apart from technical pens (radiographs), this technique gives the thinnest lines possible. It doesn’t allow a lot of freedom and feels like scratching the surface, but it provides the utmost precision. However, it’s only suitable for smaller illustrations as the lines are thin and without many dimensions. It can nevertheless be combined with other techniques for great effects.
Ink Wash Painting Technique
This technique is similar to watercolor painting. The approach is simple and can be mastered quickly – work on lighter areas and slowly transfer to darker ones. This is how you will be able to add contrast and details along the way. Additionally, always focus on larger surfaces first and work in layers.
Conclusion
Pen and ink illustration requires simple tools which are affordable and easy to find. At the same time, it allows artists to work from wherever they want as they can easily carry their equipment with them. It’s becoming a popular illustration career approach, especially now when many companies require illustration services.
We hope this article about Everything You Need to Know About Pen and Ink Illustration has been helpful and be sure to leave your comments below.
Author Bio
Erica Martin has been an avid blogger for 5 years, with particular interests in creative design – graphic design, illustration, etc. Today she is an expert on the subject and over the years she has consistently contributed articles to designing publications. Presently, she is associated with Artwork Adobe (AWA) – a creative design company.


